MQTT with RabbitMQ(AMQP)
RabbitMQ is a messaging broker or an intermediary for messaging. It gives a common platform to send and receive messages, and provide messages a safe place to live until received.
This is an example of how to send a MQTT message from MQTT Client to RabbitMQ’s AMQP.
MQTT client publishes a messages to rabbitMQ with a topic. Messages published to MQTT topics uses a defualt topic exchange amq.topic internally. Subscribers consume from RabbitMQ queues bound to the topic exchange.
for below steps use the RabbitMQ Command Line
Step 01 -: Enable MQTT plugin from RabbitMQ
Step 02 -: Create a new user (You can perform this without providing a user name or password from MQTT client side and it will works perfectly on locally since it’s uses the guest account from RabbitMQ but you will not be able to accss the rabbitMQ remotly unless you create a user for the MQTT client)
# username and password are both "mqtt-user"
rabbitmqctl add_user mqtt-user mqtt-user
Step 03 -: Give Management type priviledges to the created user
rabbitmqctl set_permissions -p / mqtt-user ".*" ".*" ".*"
rabbitmqctl set_user_tags mqtt-user management
Download eclipse.paho.client jar file from here or for a maven project include below
<dependency>
<groupId>org.eclipse.paho</groupId>
<artifactId>org.eclipse.paho.client.mqttv3</artifactId>
<version>1.2.0</version>
</dependency>
import org.eclipse.paho.client.mqttv3.MqttClient;
import org.eclipse.paho.client.mqttv3.MqttConnectOptions;
import org.eclipse.paho.client.mqttv3.MqttException;
import org.eclipse.paho.client.mqttv3.MqttMessage;
import org.eclipse.paho.client.mqttv3.MqttPersistenceException;
public class MqttTest {
String brokerUrlRpi_Mqtt = "tcp://localhost:1883";
String clientId="MQTTClient";
String topic = "client/testtpoic/sub";
int qos=0;
private static final String USERNAME = "mqtt-user";
private static final String PASSWORD = "mqtt-user";
public static void main(String[] args) throws MqttException {
MqttTest mqt = new MqttTest();
mqt.publish("Hello Rabbit");
}
public void publish(String data) throws MqttPersistenceException, MqttException {
/* Create a connection to MQTT plugin in RabbitMQ(MQTT Plugin listen on all interfaces on port 1883) */
MqttClient client = new MqttClient(brokerUrlRpi_Mqtt,clientId);
System.out.println("Publishing to topic \""+topic+"\" qos "+qos);
/* Create MQQT Message */
MqttMessage message = new MqttMessage(data.getBytes());
message.setQos(qos);
message.setRetained(false);
/* Configure username and password */
MqttConnectOptions connOpts = setUpConnectionOptions(USERNAME, PASSWORD);
/* Connect to the MQTT Plugin */
client.connect(connOpts);
/* Publish the Message */
client.publish(topic, message);
}
private static MqttConnectOptions setUpConnectionOptions(String username, String password) {
MqttConnectOptions connOpts = new MqttConnectOptions();
connOpts.setCleanSession(true);
connOpts.setUserName(username);
connOpts.setPassword(password.toCharArray());
return connOpts;
}
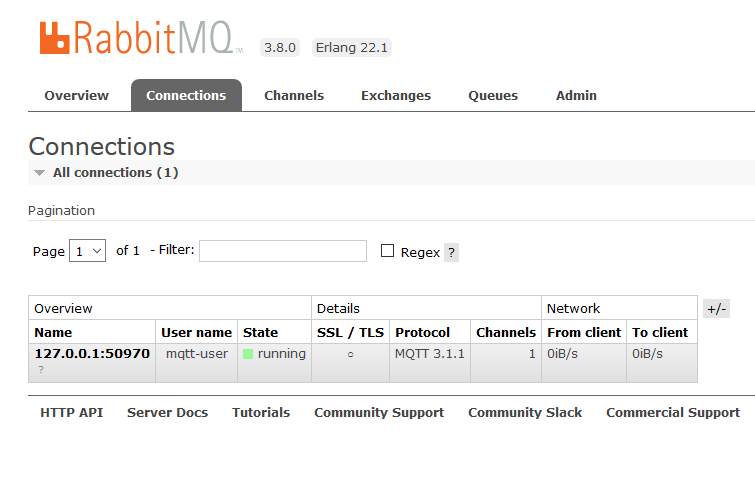
}Below you can see in the Rabbit Management it showing a new connection with MQTT protocol
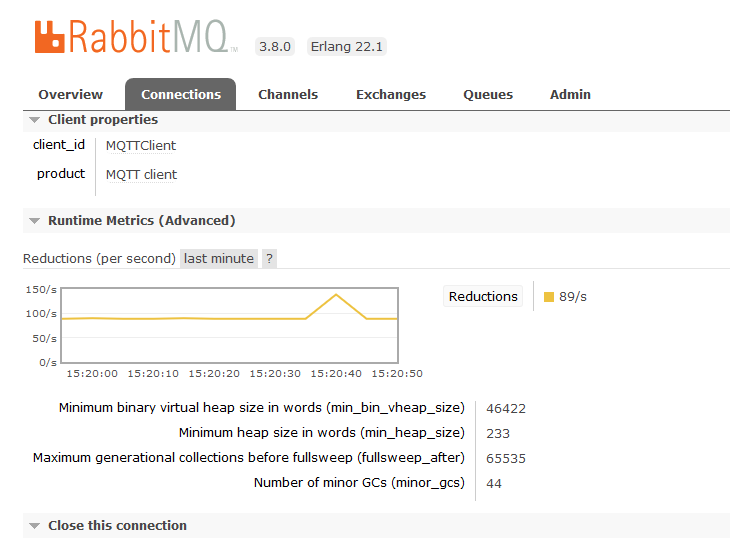
In the below image see the Client ID we set from the MQTT Client app